


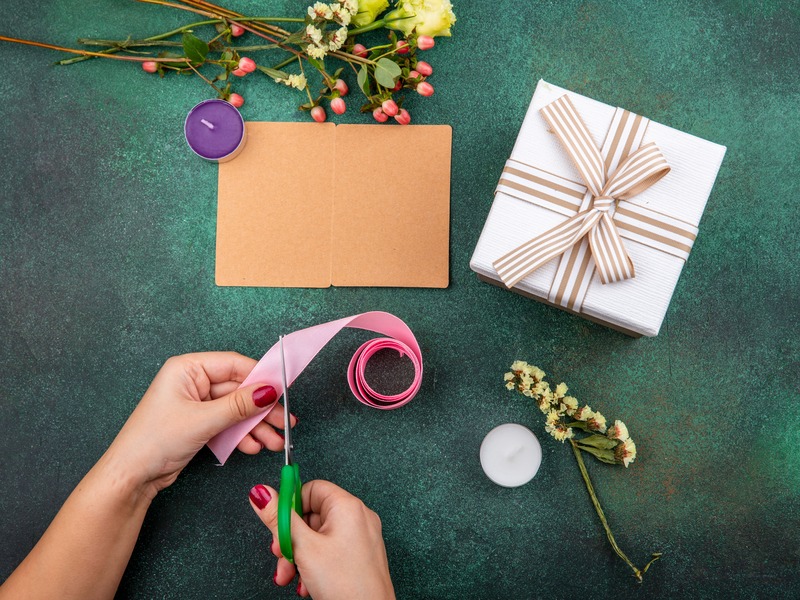
To make those custom handmade gift tags, you just grab some heavyweight paper cardstock (250–300 GSM) then cut it into whatever shape you like, like luggage tags, flags, or circles. After that, layer on pre-cut adhesive printable labels right on top for your wording, little stamped vibes, or even addresses. You can also mix textured kraft cards with clear or coloured self-adhesive labels, punch a hole at the top then thread twine or ribbon through, and suddenly it looks way more professional, and yes, actually personalized too.
Why Should You Make Your Own Gift Tags with Paper Card and Labels?
Handmade gift tags bring this thoughtful, personal feeling that store-bought sticker tags really cannot copy. With high-quality HaberCrafts Paper, Card & Labels, even a simple present turns into something styled and pretty, for birthdays, weddings, or holiday moments.
In this guide, you’ll find out how to pick the right cardstock weights, how to pair self-adhesive labels with textured cards, and you’ll try 7 creative tag-making techniques. If you lean more toward rustic kraft looks or modern minimalist layouts, these ideas are still quick, fun, and budget-friendly, kind of like a small but satisfying craft break.
Which Materials Do You Need to Get Started?
Before you start making your tags, having the right paper weights and label types basically ensures that you get clean cuts, and also that the finishes hold up longer, which is honestly the whole point.
Essential Supplies Checklist
- Heavyweight Cardstock (250–300 GSM): White, black, pastel, or even recycled Kraft paper card forms the sturdy base for your tag
- Adhesive Labels: Sheet labels, round sticker labels, or address labels so your typography sits nicely, plus the borders look neat
- Craft Tools: Scissors , or a paper trimmer, plus a single-hole punch, and a corner rounder punch or two
- Fasteners: Jute twine, satin ribbon, or bakers twine if you want that softer pull
- Decorations: Rubber stamps, calligraphy pens, pressed flowers, or decorative tape… kind of depends on the mood you’re aiming for
Choosing the Right Paper Card Stock Weight
| Paper Card Weight | Texture / Finish | Best Suited For |
| 80 – 120 GSM | Light printer paper | Inner label inserts, origami accents, wrapped seals |
| 160 – 220 GSM | Lightweight cardstock | Layered matting, folded gift notes |
| 250 – 300+ GSM | Heavy craft card | Tag bases, die-cut tags, sturdy hanging tags |
How Do You Combine Paper Cardstock and Labels for Custom Tag Designs?
Combining a rigid paper card base with flexible adhesive labels gives you structural strength and creative freedom. Here are seven practical techniques you can try today.
1. The Layered Sticker-on-Kraft Design
Cut a rectangular tag (2 x 3.5 inches) from 300 GSM recycled brown kraft cardstock. Snip the two top corners at an angle to create a traditional luggage tag shape. Print a floral frame or write a name onto a white rectangular adhesive label, then stick it directly onto the center of the kraft card.
2. Print-and-Stick Address & Message Labels
If you have multiple gifts to prepare, printing names and holiday greetings onto sheet labels saves significant time. Design a template using standard label sheets, print them out, and peel them directly onto pre-cut colored card bases.
3. Embossed Label Seals on Pastel Card
Use round self-adhesive gold or white labels on pastel cardstock. Use an embossing powder tool or heat stamp on the label before pressing it down onto the card. The contrast between the smooth sticker and matte cardstock creates an elevated finish.
4. Window Die-Cut Tags with Inner Labels
Fold a piece of 250 GSM paper card in half. Punch a star or circle window out of the front layer. Place a decorated adhesive label inside the fold so the design shows through the window frame when closed.
5. Stenciled & Stamped Adhesive Border Tags
Apply blank white adhesive border labels along the bottom edge of a dark black or navy paper card tag. Use ink stamps or gel pens on the label portion to create a crisp contrast against the dark card surface.
6. Pressed Flower & Clear Vinyl Label Tags
Lay real dried flowers onto a sturdy white card base. Seal the flowers in place by applying a clear adhesive label or transparent laminate sheet over top. Trim the edges for a botanical tag that lasts indefinitely.
7. Reusable Chalkboard & Kraft Labels
Stick matte black chalkboard labels onto thick cardstock backing. Write your message using an erasable liquid chalk marker. This lets the recipient re-use the tag for future gift-giving.
How Do You Assemble a Professional Tag Step-by-Step?
Follow these four simple steps to assemble clean, professional handmade tags every time.
- Step 1: Cut and Shape the Base Card:
Measure and cut your 250-300 GSM paper cardstock into a usual 2″ x 3.5″ rectangle with a paper trimmer. Then use a corner rounder punch on the bottom two corners for a softer finished edge, not too sharp.
- Step 2: Apply and Center the Label:
Peel your prepared adhesive label—whether handwritten, stamped, or printed—and center it carefully onto the front of the paper card base. Press firmly from the center outward to eliminate air bubbles.
- Step 3: Punch the Fastener Hole:
Make a single hole about 0.25 inches from the top edge, line it up in the center of the tag. For better staying power add a donut like label ring or a reinforcement sticker around the hole on both faces.
- Step 4: Thread the Twine or Ribbon:
Get an 8-inch piece of jute twine, or satin ribbon, fold it in half. Push the looped end through the front of the hole, then pull the loose ends through the loop, and pull tight so it holds nicely on your gift.
How Do Handmade Tags Compare to Mass-Produced Labels?
| Feature | Homemade Card & Label Tags | Store-Bought Adhesive Tags |
| Material Quality | High-density 250–300 GSM cardstock | Thin 80 GSM glossy paper |
| Customisation | Full control over size, colors, text, and texture | Standardized, generic designs |
| Durability | High resistance to tearing or creasing | Easily bent or ripped during shipping |
| Environmental Impact | Highly recyclable using kraft & paper materials | Often contains plastic film overlays |
| Cost Efficiency | Very low cost per unit when using bulk sheet supplies | Higher unit price for specialty multipacks |
Where Can You Get Quality Paper, Card, and Label Supplies?
To ensure your handmade tags look crisp and last long, choose craft supplies tested for opacity, ink absorption, and adhesive strength.
You can find high-grade cardstock sheets, kraft paper, and multi-purpose printable labels directly at HaberCrafts. Matching proper paper card weights with compatible adhesive labels ensures your printer ink will not smudge and your tags will hold their shape when tied to heavy packages. For standard paper weight standards and definitions, consult the International Paper Size & Weight Guide on Wikipedia.
FAQs About DIY Gift Tags
What is the best card weight for making gift tags?
For gift tags, the best card weight usually lands around 250 GSM up to about 300 GSM. That kind of thickness keeps the tag sturdy, lets it hold on to small decorations without sagging , and also survives the whole grabbing-while-wrapping routine during transport.
Can you print directly onto adhesive labels using a home printer?
Yes. Most standard inkjet and laser printers accommodate A4 adhesive label sheets. Make sure to check whether your labels are optimized for inkjet or laser printing to prevent ink smudging or heat damage.
How do you keep paper card edges from fraying or tearing?
Using a sharp paper trimmer or craft knife rather than dull scissors prevents rough edges. Additionally, rounding the corners with a punch and reinforcing the punch hole with adhesive ring labels prevents tearing when attached with thick cord or ribbon.
How far in advance can you make cards and label gift tags?
You can prepare cards and label gift tags well in advance, sometimes months. When you’re done , store the finished tags in a cool, dry space away from direct sunlight. This helps keep the adhesive tacky and reduces the chance of card stock yellowing , or fading.
Key Takeaways for Designing Memorable Gift Tags
- Choose the Right Base: Use 250 GSM to 300 GSM paper cardstock to ensure your tags are sturdy and feel premium.
- Combine Textures: Pair natural kraft card bases with crisp white or colored adhesive labels for striking visual contrast.
- Batch Produce Efficiently: Print multiple address or greeting labels onto label sheets ahead of time to make gift-wrapping quick and easy.
- Protect and Reinforce: Use hole reinforcers and rounded corners to prevent wear and tear on your custom creations.
By utilizing versatile craft materials from HaberCrafts Paper Card & Labels, creating professional, personalized gift tags for any occasion becomes effortless.