

Scrapbooking is, like, way more than just sticking photos onto a piece of paper, yeh it sounds simple, but it really isn’t. It’s kind of a visual storytelling thing, a method to hold onto your favorite memories, those big milestones, and also your artistic expressions in something real… like a tangible format. Still, if you ever sat there with a blank 12×12 page and felt totally stuck, wondering where to begin, then you’re honestly not alone at all.
And if you’re aiming to move your layouts from plain to pretty breathtaking, without dropping money on heavy machinery, then the real secret is simple: use solid art supplies. Think high-quality stencils, precision templates, and flexible texturing tools. With those in hand you can bring in depth, some structure, and that polished, professional vibe in your designs, even if you’re not trying to be super technical.
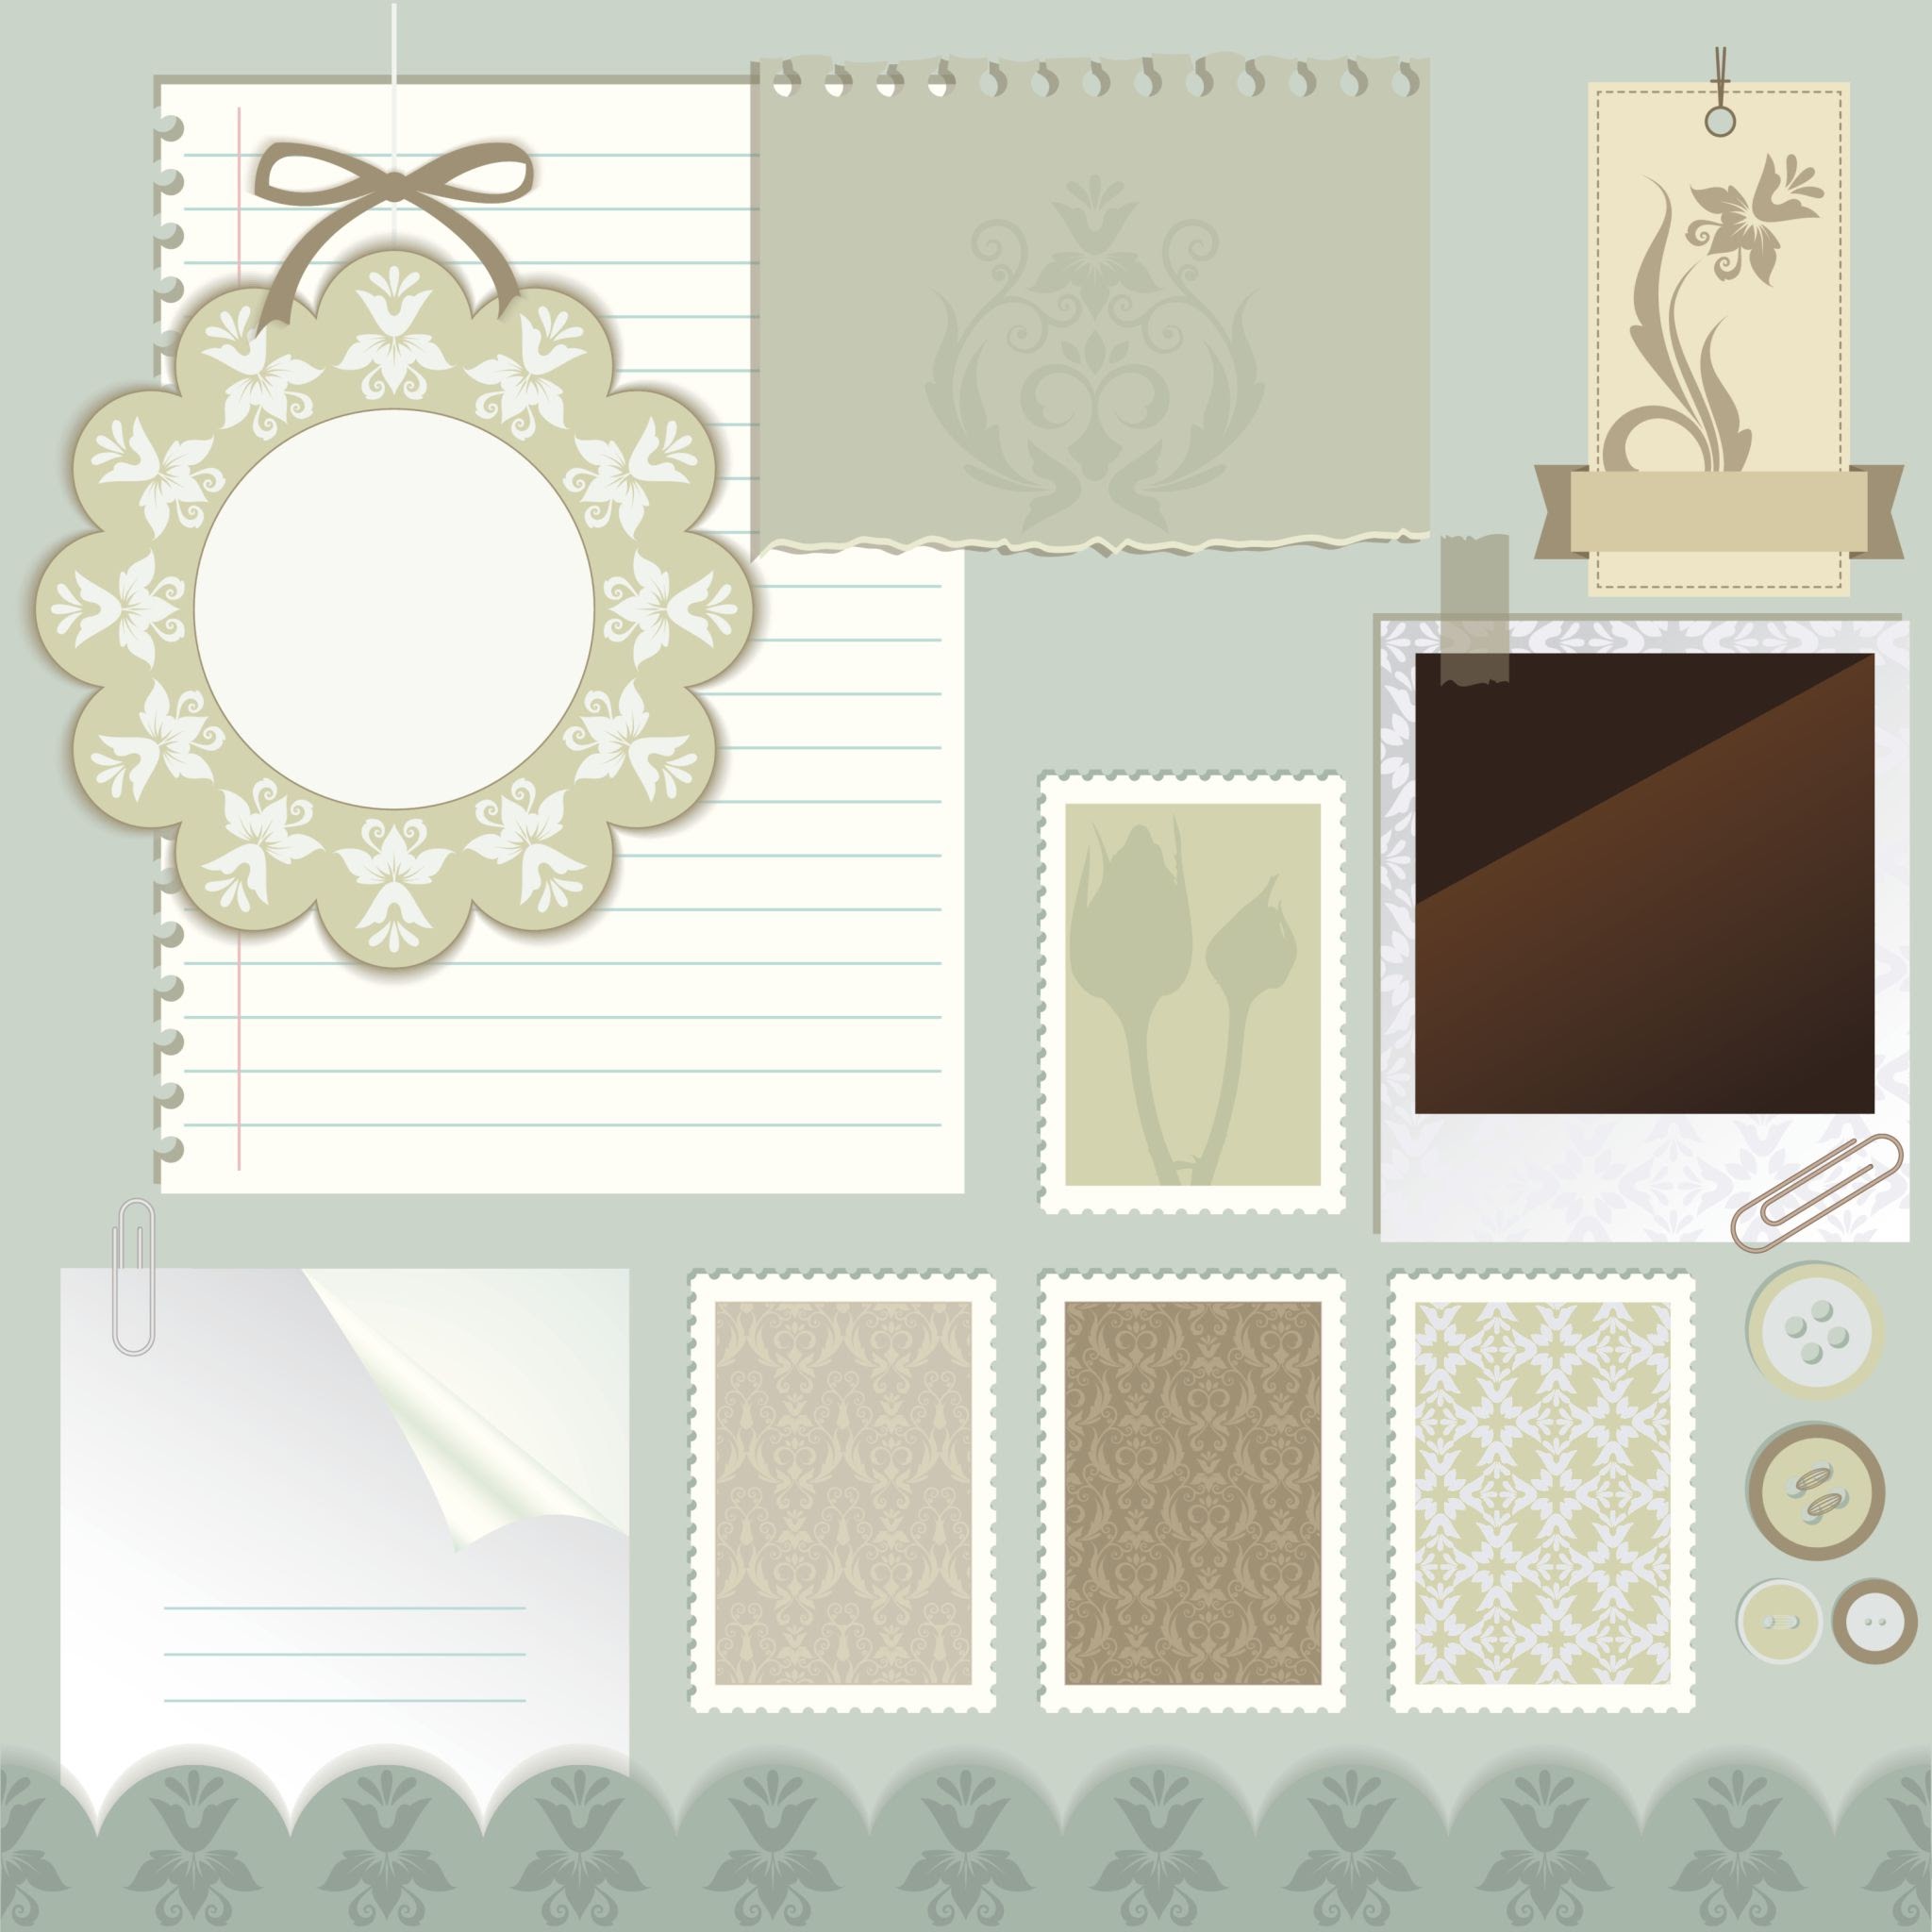
Below we break down how everyday practical tools — like the ones in the HaberCrafts collection — can open up new creative dimensions for scrapbook projects you’d never imagined before.
Why Stencils and Templates are a Scrapbooker’s Best Friend
A lot of craft folks treat stencils and drawing templates like they’re rigid, or maybe just limiting contraptions made only for technical drawing. But honestly… that’s not really the story. They can be an incredible springboard for free-form making, even if your brain wants to wander. It’s more like, they give you a starting point without trapping you. Anyway, here’s why they should stay in your scrapbooking tote, like, for good:
- Flawless Consistency: When you are building a multi-page vacation album, or a coordinated baby book, templates keep those repeating geometric bits, borders, and picture frames looking uniform, every time.
- Cost-Effective Mixed Media: Rather than buying pricey pre-printed patterned paper, one stencil can be reused endlessly. You can switch up inks, acrylic paints, and textures, and end up with a whole lot of custom backgrounds, even if it feels like you used the same “thing” again and again.
- Confidence Boost for Beginners: If your freehand drawing, or your lettering, feels slightly wobbly—yeah that happens—then a stencil is a soft guide. It helps you get crisp clean edges on every page, without making you feel like you have to be perfect first.
1. Mastering the French Curve for Dynamic Layouts
When most people think of a French Curve, they think of fashion designers drafting dress patterns or architects refining technical blueprints. But this tool is secretly a mixed-media crafter’s dream.
Unlike standard straight rulers, a French curve provides beautifully smooth, sweeping lines that mimic organic shapes found in nature. Here is how you can use it to level up your pages:
- Custom Photo Matting: Instead of cutting your photos into traditional rectangles or circles, lay a French curve across your picture or backing paper. Trace along the edge to cut out elegant, sweeping waves that look beautiful for beach trips, botanical themes, or whimsical layouts.
- Whimsical Journaling Paths: Writing your text in standard straight blocks can sometimes break the visual flow of a page. Use the smooth arcs of a template to lightly pencil a curved path across your background cardstock. Write your text directly along that line, then erase the pencil marks for a gorgeous, fluid journaling effect.
- Dynamic Borders: Instead of using basic solid washi tape, use a foam paint brush and a bit of acrylic paint to sponge soft colors along the edge of the curve, shifting the template as you move down the page to create beautiful layered waves.
2. Clever Hacks with A4 Tracing Paper Sheets
Another overlooked hero in the scrapbooking universe is premium A4 Tracing Paper Sheets. Translucent paper adds a sophisticated, airy texture to layers that standard heavy paper simply cannot replicate.
- Overlay Protected Journaling: If you have a private memory or a long story that you want to include but don’t want dominating the page, write it out on a sheet of tracing paper. Anchor the top of the tracing sheet with a few Sticky Dots or a line from a 2 Way Glue Pen, letting it sit like a sheer veil over your photographs.
- Muted Background Layers: If your background paper—like a vibrant Holographic Card or a bright Glitter Card—is beautiful but competing too heavily with your photographs, place a piece of tracing paper over the busiest sections. It softens the background colors while allowing the textures to subtly gleam through.
- Perfect Die-Cut Stenciling: Can’t find the exact stencil design you want in a store? Draw or print a custom design, lay your tracing paper over it, and trace the outline. Carefully cut out the inner shapes using fine crafting shears to create your own bespoke, lightweight stencil template.
3. Creating Sensory Textures with Advanced Media
Stenciling isn’t restricted to basic ink blending. To truly take your pages to the next level, experiment with different materials to fill in your patterns.
If you are working with a geometric or floral stencil, try swapping out standard ink pads for dimensional mediums. Applying heavy-body acrylic paint with a Foam Paint Brush Set creates a raised, tactile effect that catches the light beautifully. For a touch of opulence, lace your stenciled patterns over premium Mirror Card sheets; the contrast between matte inks and a reflective surface creates an incredibly professional finish.
Step-by-Step: Building a Layered Stencil Page
If you feel ready to actually use these ideas in real life, here’s a quick little guide for organizing your next layout in a cleaner way, more or less:
1.Establish Your Base Canvas
Pick a solid background sheet, like a 160gsm Paper Card, because it can take wet mediums pretty well, without warping or buckling when the glues and paints get involved.
2.Stencil Your Background Elements
Tape your stencil or curved template down with low-tack tape. Then, use a sponge, or even a brush to put on your selected media. If you’re working with wet paints, let that layer dry all the way , before you go further.
3.Flesh Out the Secondary Layers
Cut accent shapes out of translucent tracing paper sheets, or go with high-shine metallic cards. Place those accents around your focal point, so the viewer’s gaze ends up pulled toward your main photograph.
4.Secure Everything Safely
Use a dependable PVA glue, or use adhesive dots that are targeted for the job. Fix your photos and any heavier parts firmly, so corners don’t start lifting up later on.
Conclusion: Unleash Your Scrapbooking Potential
Leveling up your scrapbook pages doesn’t require an endless budget or complex machinery. By rethinking everyday technical tools and versatile art supplies—like using a French Curve for organic borders, leveraging the soft elegance of A4 Tracing Paper Sheets, or adding rich texture with a Foam Paint Brush Set—you can elevate simple cardstock into a professional, multi-dimensional work of art.
What really makes the layouts shine is experimenting with these creative limits. Don’t be afraid to blend bold textures, mess around with reflective surfaces a little, and let stencils sort of “steer” your own vision. Grab your favorite photographs, clear off your crafting table, then let these simple methods transform the memories you care about most into timeless keepsakes!