


Blog
7 Creative Paper Craft Ideas Using Everyday Card and Cardstock

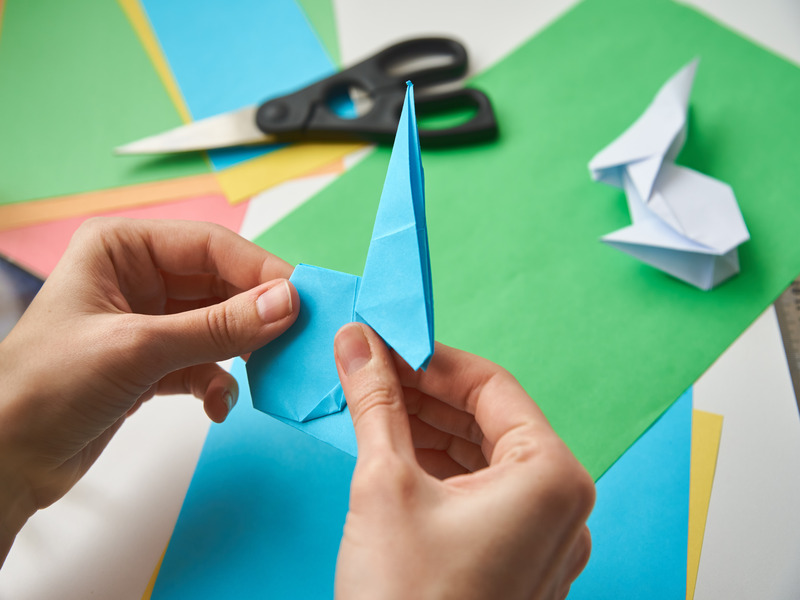
There is something incredibly therapeutic about turning a plain sheet of paper into a sort of three dimensional work of art . Paper crafting is not only an affordable hobby; it’s also this open invitation to let your imagination run a little wild. Whether you are a seasoned crafter or you are hunting for a fun weekend thing to do with your kids, you don’t really need an expensive studio setup to get going . Honestly, some of the most jaw dropping projects come from basic, everyday materials and not some fancy stuff.
With a handful of high quality essentials like standard paper and card, heavy duty cardstock, and a dependable PVA glue , you can build gorgeous decor, heartfelt presents, and even interactive pieces that actually feel alive.
So let’s jump into 7 creative, step by step paper craft ideas that will help your everyday cardstock stand out , and maybe surprise you a bit too.
1. Multi-Layered Shaker Greeting Cards
Greeting cards are a pretty classic way to say, hey I care about you, but you can push it a bit further with a dynamic “shaker card” thing. These shaker cards have a hollow clear window , with loose bits inside like sequins, tiny beads , or even glitter, and when you shake it, everything sort of swirls around in there.
To make one, you start with a solid card base. Premium Paper & Card 160gsm (210mm x 297mm) helps stop the card from bending, even with a little extra weight. Then cut a window from the front panel, and place a transparent sheet behind it , using double-sided tape or Sticky Dots. Next you build a raised little frame along the inside edge using thin foam strips, drop in a mix of bright sequins , and then close it up at the back with a sheet of striking Mirror Card. So when your recipient lifts it up , that metallic background will gleam behind the moving sequins like… you know, magic.
2. Custom Paper-Cut Light Boxes
If you feel like making a seriously breathtaking DIY home decor piece , then a multi layer paper cut light box is kinda the go to weekend project. These boxes work by using sequential sheets of cardstock, so you end up with this 3D landscape, or a neat silhouette scene, and then it glows from behind thanks to LED fairy lights.
Since this whole thing depends on sharp edges, and also on structural integrity, you really should grab a premium A5 paper & card, 160gsm , or just use regular A4 cardstock. Next, trace your sequential silhouette templates onto 4 to 5 different sheets . Cut each one out carefully, and try to keep the most detailed little openings on the front layer, while the broader forms sit deeper in the stack. Then separate each layer with a small strip of foam board, to build actual depth , and finally slide everything inside a deep shadow frame. After that, when you turn on the LEDs, the light passes through each paper layer , giving you this mystical shadow play effect.
3. Sparkling Celebration Banners & Garlands
Why just buy generic party decorations when you could basically make your own celebration banner , something that sticks around for years? With handmade paper banners you get this really personal, kind of warm vibe for birthdays, weddings, or those seasonal holidays.
If you want it to look really eye-catching, do a little back-and-forth between bold Glitter Card sheets and sleek Mirror Card, the high gloss kind. Then cut your pennants or even your letters using a sturdy stencil , keep it clean so the edges look crisp. For putting it together, thread a luxe Velvet Elastic Ribbon or a more homespun Metallic Rope through tiny holes punched along the top of each cutout. And if you are crafting with younger children, you can also grab A4 Glitter Foam (Adhesive) sheets—this way they can peel and stick their own shapes onto the banner flags pretty easily , and they won’t have to deal with messy wet glue.
4. Dimensional Holographic Wall Art
Geometric wall art is kinda big in the interior design trend right now, and you can get a really polished modern vibe with only paper. If you fold and arrange those exact geometric modules just right, you end up with gorgeous 3D mosaics that mess with the ambient light a lot. It’s like… simple materials doing fancy things.
For that extra ultra-modern, future facing feel, try adding Holographic Cards. The shifting color spectrum on holographic paper makes wild visual tricks, especially when the pieces are folded at slightly different angles. You can cut the cardstock into same size squares, and then fold them into dimensional origami units. Then place the units onto a thick canvas, or maybe a heavy backing board, and glue them down permanently using PVA Glue. After it’s finished, as you walk by the wall, those geometric facets seem to slide through a full spectrum of colors, almost like it’s alive.
5. Lifelike Paper Botanicals & Bouquets
Fresh flowers kinda fade within a week , but a hand-crafted paper bouquet stays gorgeous… like, forever. Making paper flowers is an incredibly satisfying craft, it lets you imitate those gentle layers you see in real flora.
To begin, cut petal shapes from flexible Origami Paper or even regular A5 Paper & Card 80gsm (148mm x 210mm). The lighter 80gsm weight works really well , because it’s pliant enough to bend, curl, and form in a more natural way. Roll the edges of your petals over a pencil so you get an organic curve. Then wrap the bases of the petals tightly around a piece of green craft wire , and use a 2 Way Glue Pen so the bonding stays clean and controlled. Finally, gather your finished stems together to make a striking centerpiece for your dining room table, or turn it into a one-of-a-kind present for a friend.
6. Mixed-Media Window Art & Sun Catchers
Sun catchers are honestly a great way to drop vibrant color into a room, especially if you put them on a sunny south-facing window. It’s kind of fun too because you can create faux-stained-glass art pieces with a combo of thick cardstock and transparent film sheets, and it really does look nice in real life.
First, cut out a bold geometric shape, like an outline or a stained-glass border, from a sheet of sturdy black cardstock. Then cut a matching section from clear Universal Inkjet and Laser Transparency Film, or use an acetate sheet too. After that, add your colors on the clear part with translucent glass markers, or even thin layers of colored tissue paper, whichever feels easier. Once it’s colored, bond the black cardstock frame right over the top, so it hides the rough edges a bit. Finish by attaching the sun catcher to the actual glass window using clear Sticky Dots, or similar little adhesive helpers. After everything is set, when the sun finally hits the window, you get these glowing, patterned shadows across the room and it looks almost magical.
7. Miniature Scrapbook Shadowboxes
Instead of tucking your best memories away in one of those old photo album things, turn them into a mini storybook kinda scene inside a shadow box.
First, line the back of a deep frame with a textured backdrop. Then use small mini pegs to hang little printed photos ,or handwritten notes from a length of twine, kept right across the frame. If you want the whole setup to feel a bit more lively and hands on , cut tiny shapes from regular craft foam sheets or add very shiny highlights using scrap mirror cards. Those little raised, 3D bits lift the photographs off the background, so your memories feel more like an interactive, slightly theatrical display you can proudly show off right on your mantelpiece.
Choosing the Right Weights for Your Projects
To ensure your paper crafting is successful, it is vital to pair the right paper weight with the right technique. Here is a quick reference guide:
| Paper Type / Weight | Best Used For |
| 80gsm Paper & Card | Origami, paper beads, intricate flower folding, and lightweight layering. |
| 160gsm Cardstock | Greeting card bases, structural light boxes, 3D geometric models, and sturdy banners. |
| Specialty Card (Glitter/Mirror/Holographic) | Festive holiday decorations, wall art highlights, and premium cardmaking accents. |
| Acetate & Transparency Films | Shaker card windows, sun catchers, clear overlays, and stencils. |
Elevate Your Craft Room Today!
The secret to successful paper crafting always comes down to the quality of your foundation. Using cardstock that tears easily or glue that warps your paper can turn a relaxing hobby into a frustrating experience.
If you are ready to restock your creative space with premium crafting materials, head over to HaberCrafts, your ultimate online arts & crafts store. From colorful 80gsm and 160gsm paper packs to beautiful glitter cards, acetate sheets, and essential adhesives, they have everything you need to bring these creative ideas to life.
Plus, if you are a new customer, you can score 10% off your first purchase by using the coupon code First10 at checkout, alongside free shipping on your orders! Happy crafting!